How To Install WordPress Locally (Step-By-Step)
Having WordPress installed locally gives you a controlled environment to safely build and test new features without messing with a live environment. This is your sandbox, and it’s a great way to get your practice in without accidentally taking down your website.
Whether your a full-time blogger or a hobbyist, you might want to master WordPress, like, the back of your hand. Since blogs are living documents, they will need updating constantly. And while it is not required, having some knowledge as to how all the pieces fit together allow you to manage your website more effectively. It pays many times over to be astute with the WordPress skill.
So here’s how you do it. You will need two pieces of software. Namely, WordPress software and a webserver software. Both are opensource and freely available for download. See links below:
- Get the WordPress software from wordpress.org (Official Website)
- Get the webserver software (XAMPP) from apachefriends.org (Official Website)
Note: XAMPP is a cross-platform open-source Apache webserver solution; this software package will run locally on your computer. While there are multiple modules in this software package, the two main modules or components you will need are the Apache webserver and MySQL database server. (Want more info?) Follow Wikipedia for more information on XAMPP. Also note that while the instructions here are written for Windows computers, the same concept is applied to Mac or Linux computers.
Directions:
After you’ve downloaded the software, follow the instructions below to set it up. There are a few steps to accomplish this, so let’s unpack all of that. Step 1: Install the webserver (XAMPP). Step 2: Install WordPress on your computer. Step 3: Connect WordPress to the database on the XAMMP webserver.
Step 1: Install The Webserver (XAMPP)
Install XAMPP. Locate the installer file and run it. The installer filename should look something similar to this: “xampp-windows-x64-8.1.6-0-VS16-installer.exe“
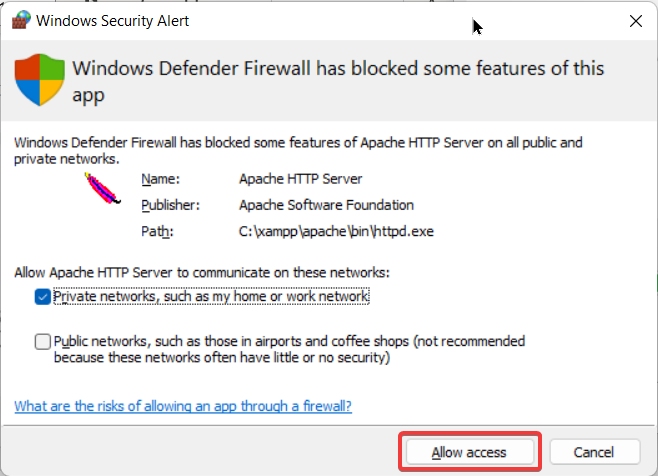
Once launched, you will see a popup dialog box similar to the one below.




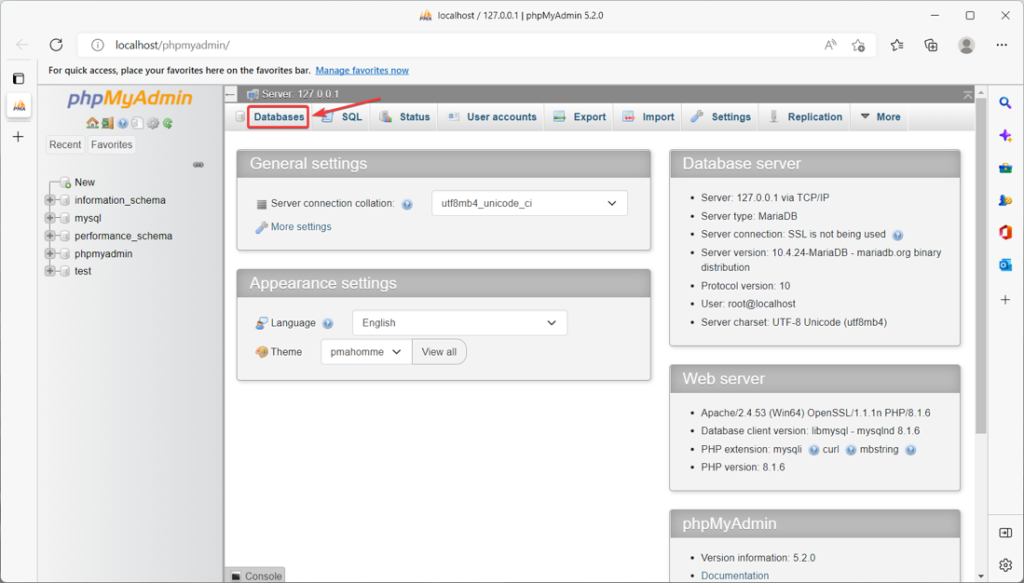
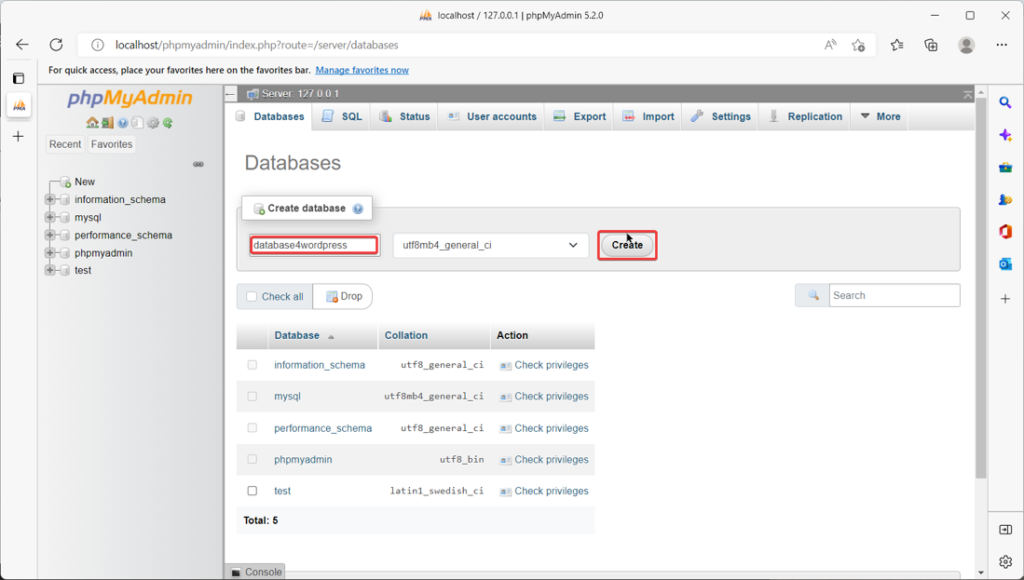
This is the database that will hold all your posts, pages, media, and WordPress related components, etc. At this point, you are done with the database server and the web server.
Note: Remember the database name (“database4wordpress”), as you will need it later when you set up WordPress. This is necessary and important, as WordPress will need to know where to store its data. So it needs to connect to the database you just created.
STEP 2: Copy The “wordpress” Folder To “C:\xampp\htdocs”
Locate and unzip the WordPress file that you downloaded earlier and just copy the entire “wordpress” folder and paste it in the “C:\xampp\htdocs” folder. See below:


You can rename it to anything you like or just leave the default (“wordpress”). Here, it was left alone with the default name. Remember to note down the name, as this is the name of your test website that lives on your local computer.
STEP 3: Set Up WordPress And Link It To The Database You Created Earlier
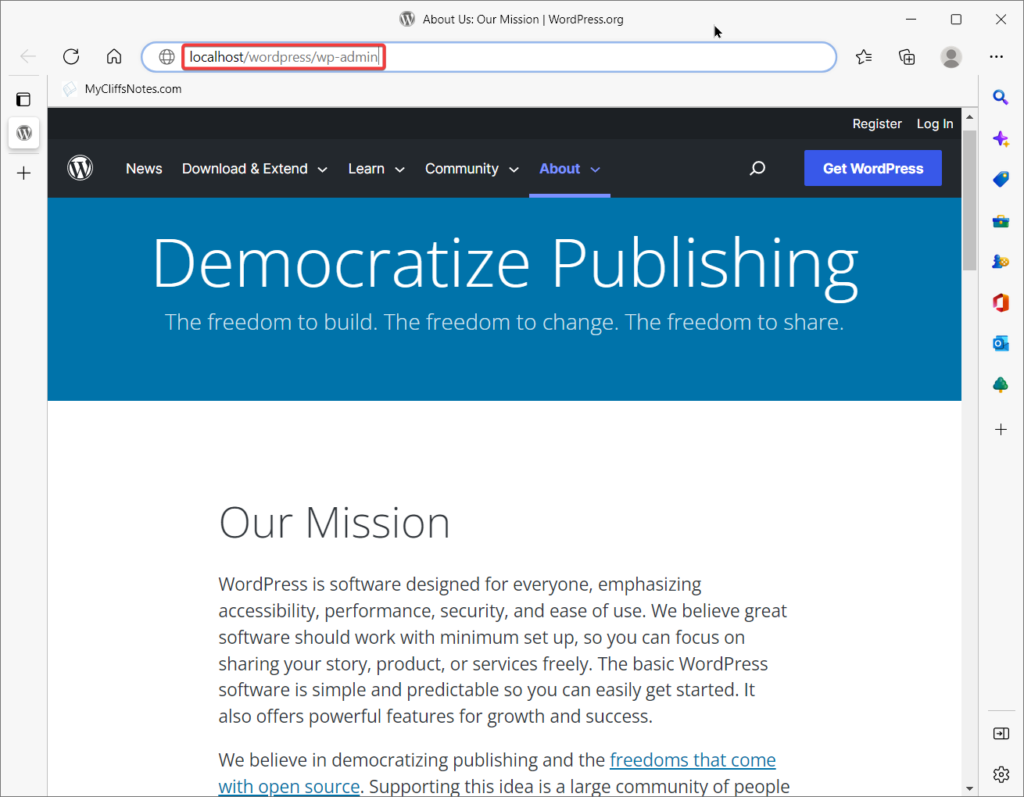
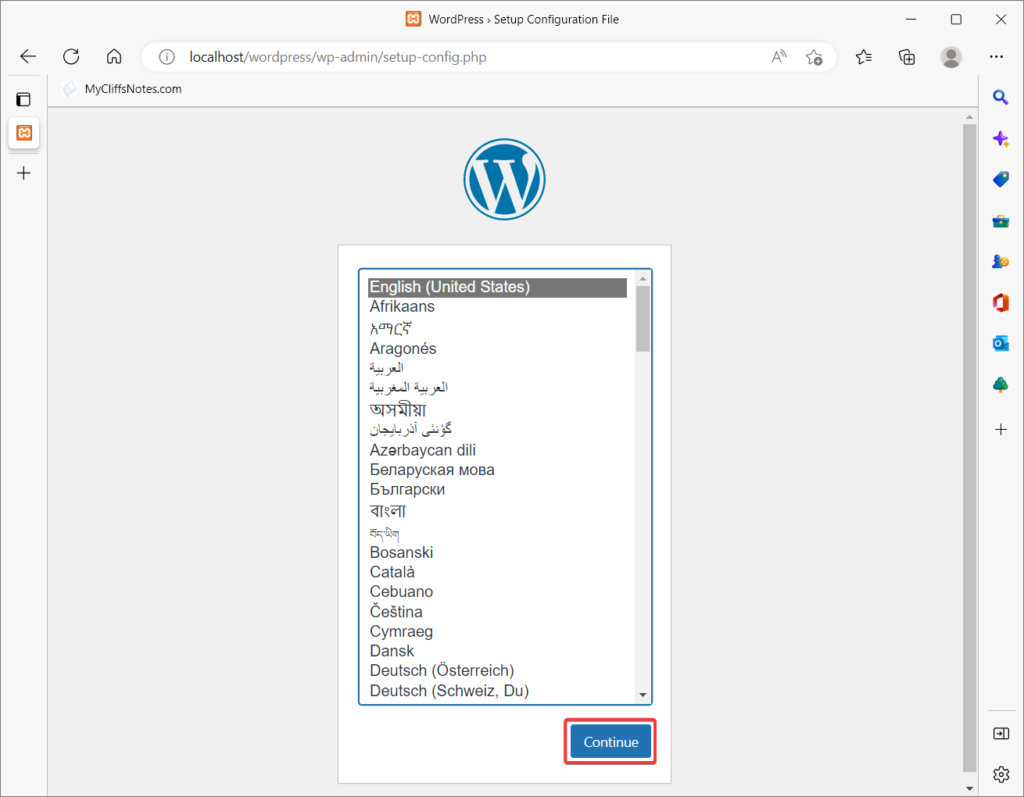
From a browser, type in the following URL: “http://localhost/wordpress/wp-admin” to set up your WordPress website.
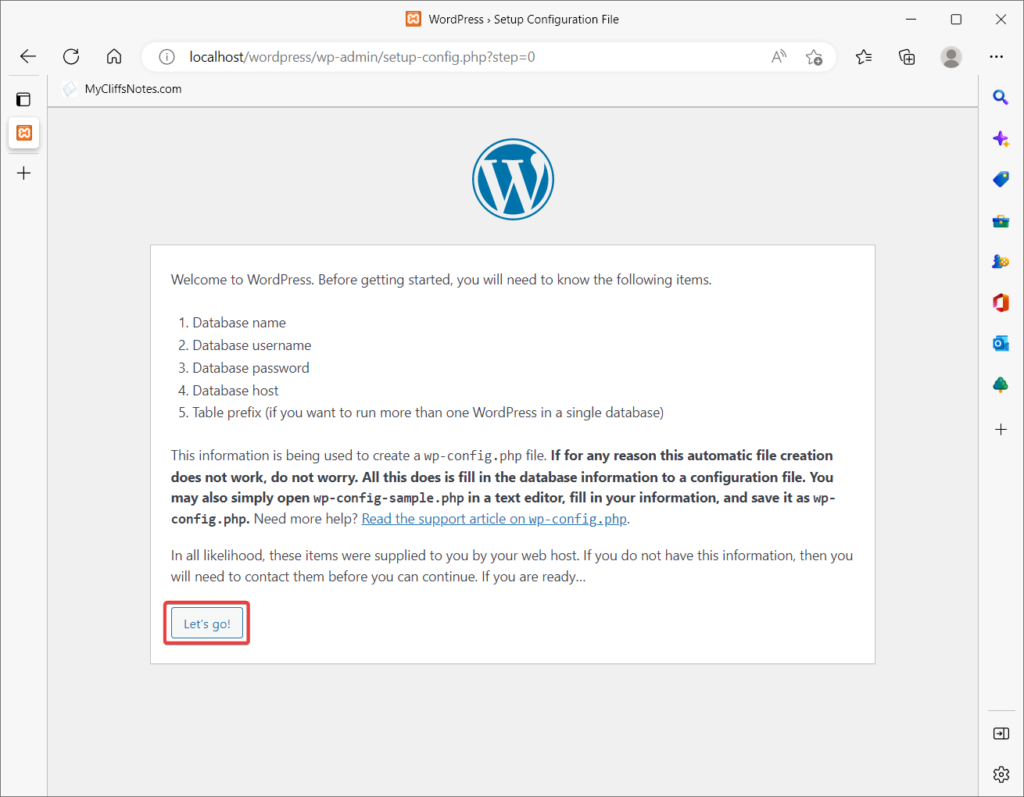
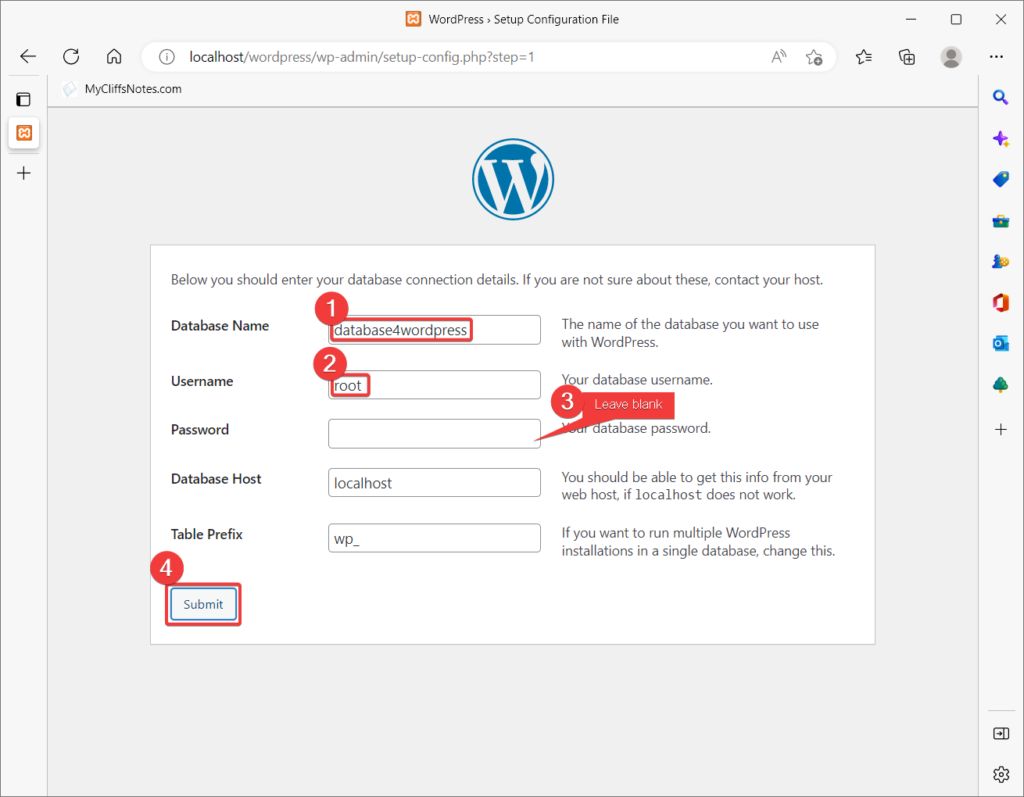
| Database Name: | database4wordpress |
| Username: | root |
| Password: | Leave the password blank for now |
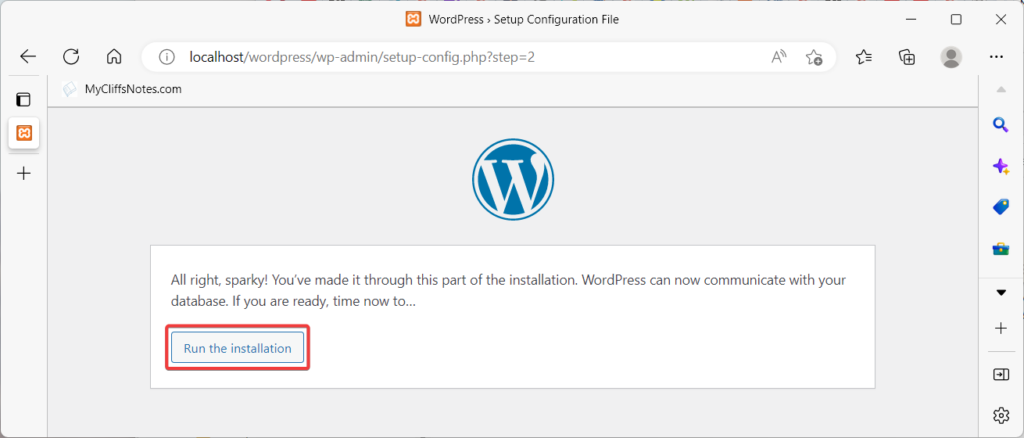
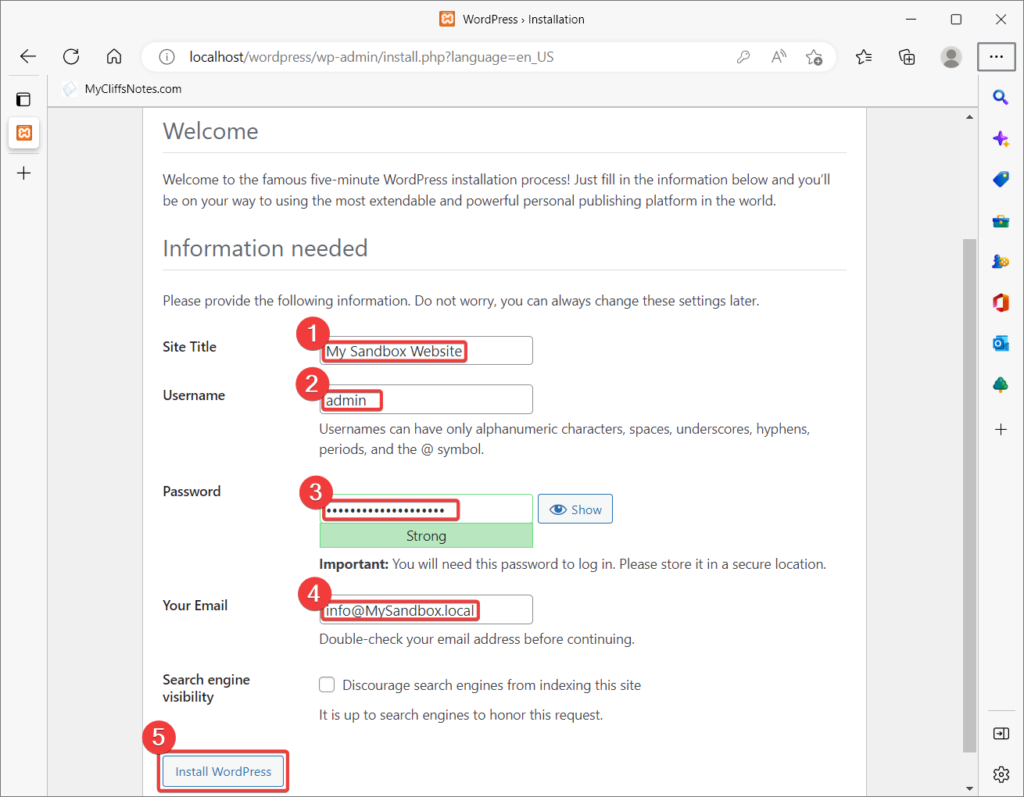
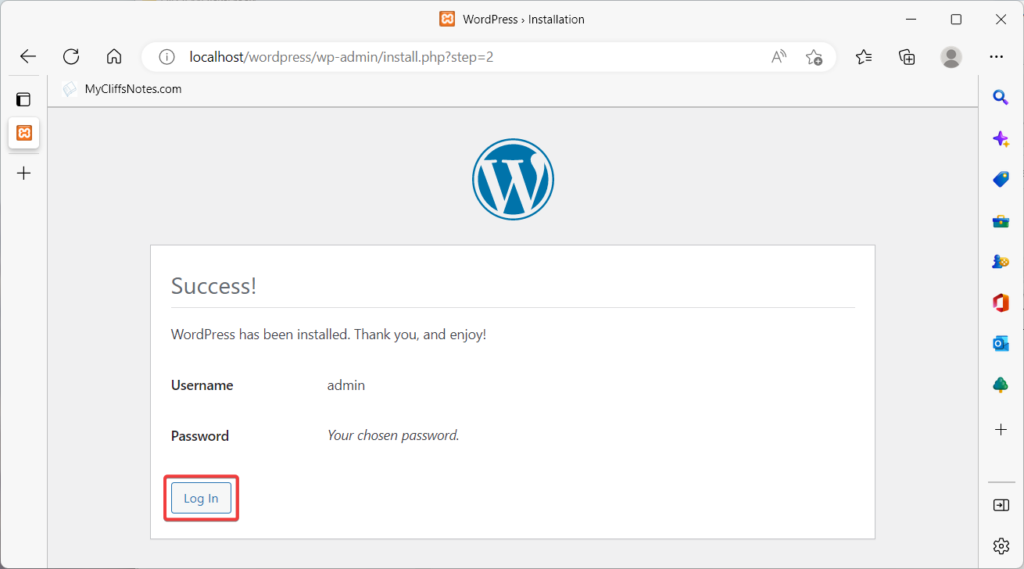
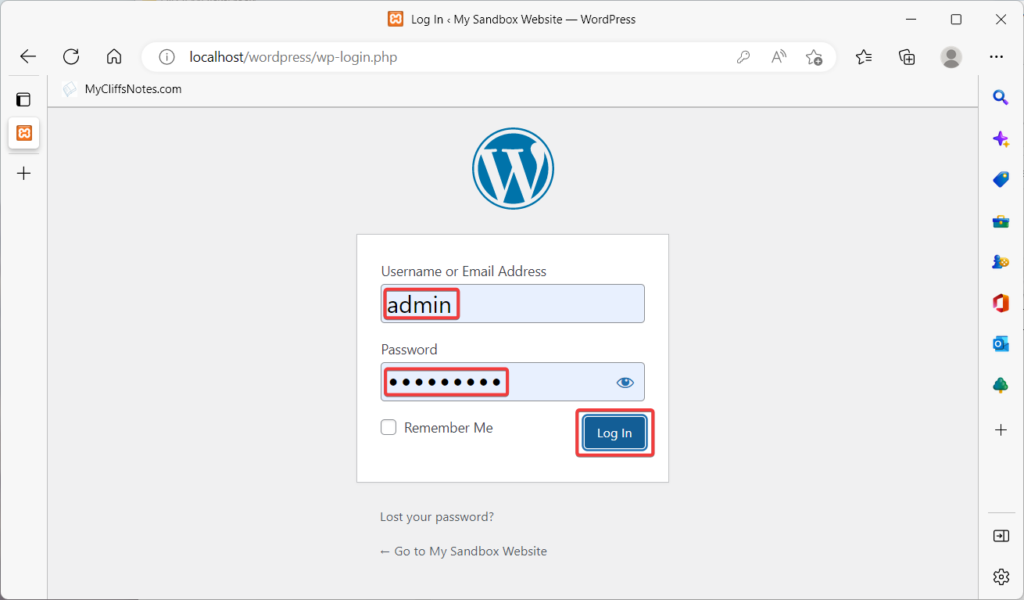
It will ask you to log in with the username and password you just created. So click on “Log In” above to go to the logon page.
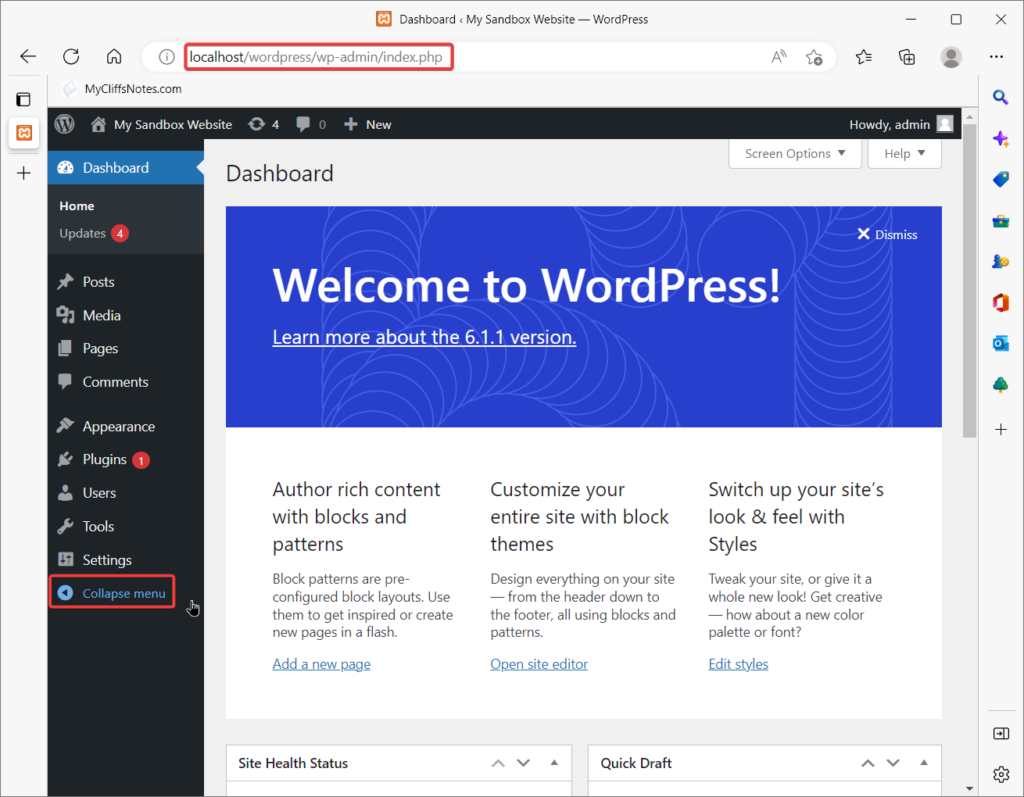
Your set up is now complete. You now have a working WordPress website installed locally on your computer. This is your proving ground!
If you need multiple websites running on your local webserver, you can. Just place another copy of the “wordpress” you previously downloaded into “C:\xampp\htdocs“. Remember to rename it to something else, so you don’t overwrite your current one.
Click on “Pages“, it should look similar to below. This is your proving ground. And if it crashes, no one gets hurt.
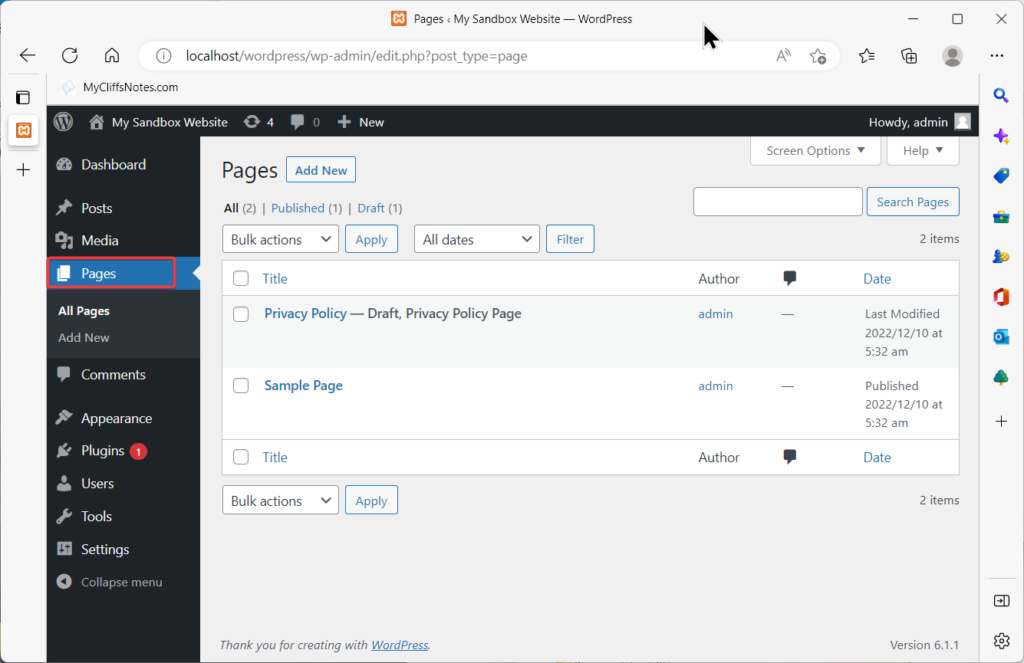
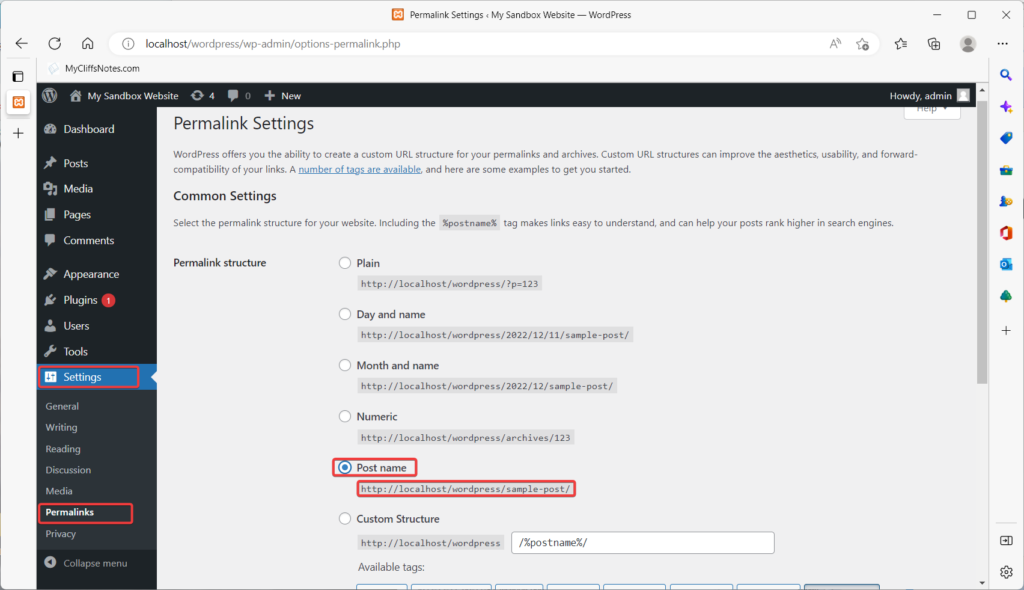
Your WordPress website is now ready and you can use it with the default. However, I would change the naming convention for the permalinks.
